Sportster Hardtail Installation Instructions
Printer Friendly PDF of Sportster Hardtail Instructions
Follow these step-by-step instructions to install your Throttle Addiction weld-on Sportster hardtail.
Step 1: Measure 16 inches from front of neck to backbone and mark for cut.

Step 2:
1982-1991 Models, Measure hardtail from motor mount to the end of the frame (not to the end of the slug). Transfer that measurement to the stock frame and make your cut in that location.

1992-2003 Models, Measure 2 3/8" back from the back edge of the rear cross bracket and make cut marks.

Step 3: Cut behind your mark and sand to ensure a flat mating surface.

Step 4: Use cardstock with square edges and wrap tube to ensure a square cut line.

Step 5: Drill 21/64" holes for plug welds 1/2" in from end of tube. Bevel end of tubing and barrel sand inner area. (Do these steps for backbone and lower frame tubes).

Step 6: Keep small gap to be sure weld penetrates the frame slug and both sides of tube.

Step 7: Leave a small gap between beveled ends to let the weld penetrate the slug as well as the tubing.

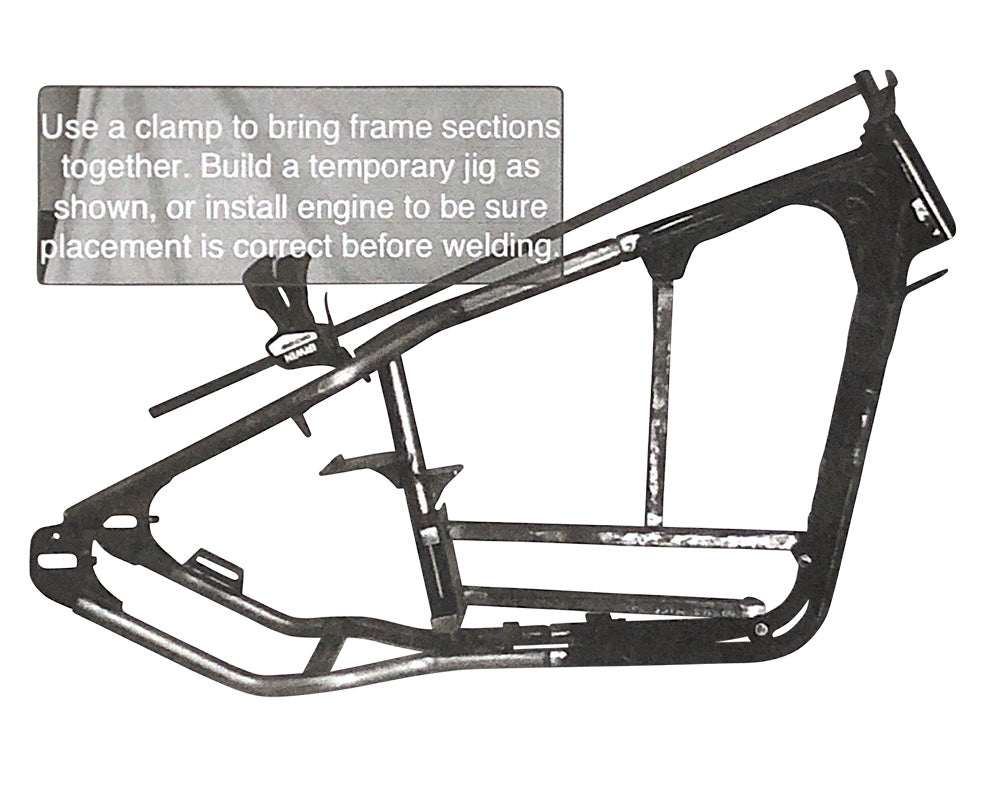
Step 8: Use a clamp to bring frame sections together., Build a temporary jig as shown, or install engine to be sure placement is correct before welding.


Hardware List for the Sportster Hardtail kit
